

Some of the original MX-5s sold in the UK between 1990 and 1998 came without power assisted steering. It was added as the cars got heavier and gained extra weight through additional features like air conditioning. This also allowed them to make the steering rack a bit 'quicker' and use a 'faster' ratio, resulting in a more responsive feel to the steering.
We are not going to argue the case for and against power steering here. We are simply doing it to improve driver involvement and to simplify our MX-5e by removing the need for a power steering pump. We could simply swap in a manual rack but, then we would lose the better ratio, so we are modifying our existing rack.
To keep the quick ratio of a power steering rack without power assistance you could simply remove the power steering belt, but this results in heavier steering since you are still moving fluid against the pump and wiper/seal. Simply looping the lines together also results in more resistance due to the fluid and wiper/seal. The best result comes from disassembling the rack and removing the internal wiper/seal to reduce the effort required to turn the steering wheel and this is the approach we are taking
The whole process has been documented by Flyin Miata and we are basically following their guide but, there is some important information missing that we have added below.

The best place to start when removing the steering rack on an MX-5 is with the outer track rod ends. We recently fitted these new ones to the MX-5e. The split pins need to be removed and the nut undone with a 17mm socket. You also need to remove inner tie rod ends.

The pipes to the steering rack need to be removed. We simply cut them with some bolt croppers. This has the advantage of also crimping the ends closed.
The steering colum needs to be undone and this needs to be marked, so that it can be corrrectly aligned when it is put back in later.
The rack itself is held on by two clamps, each with two 14mm bolts.

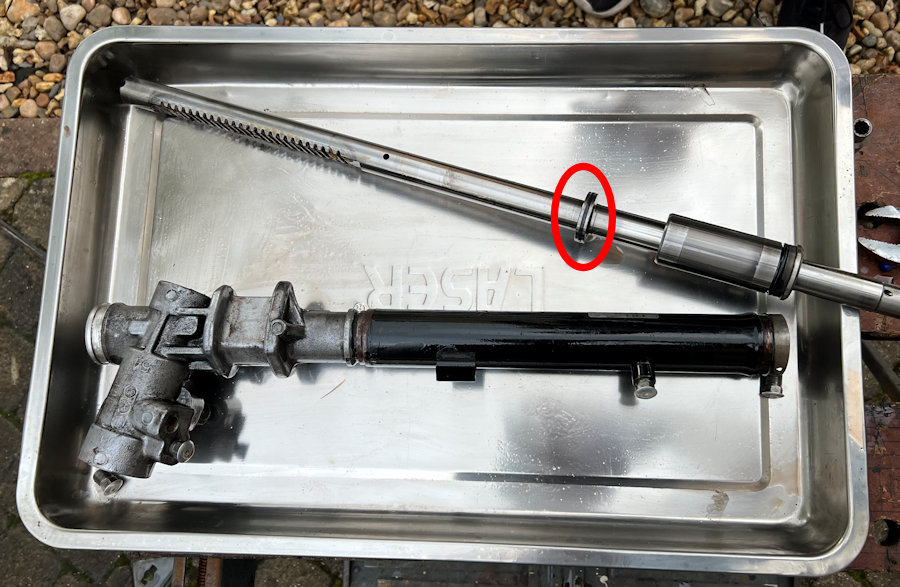
The removed rack, with the tie rod ends still attached weighs 7.6kg.

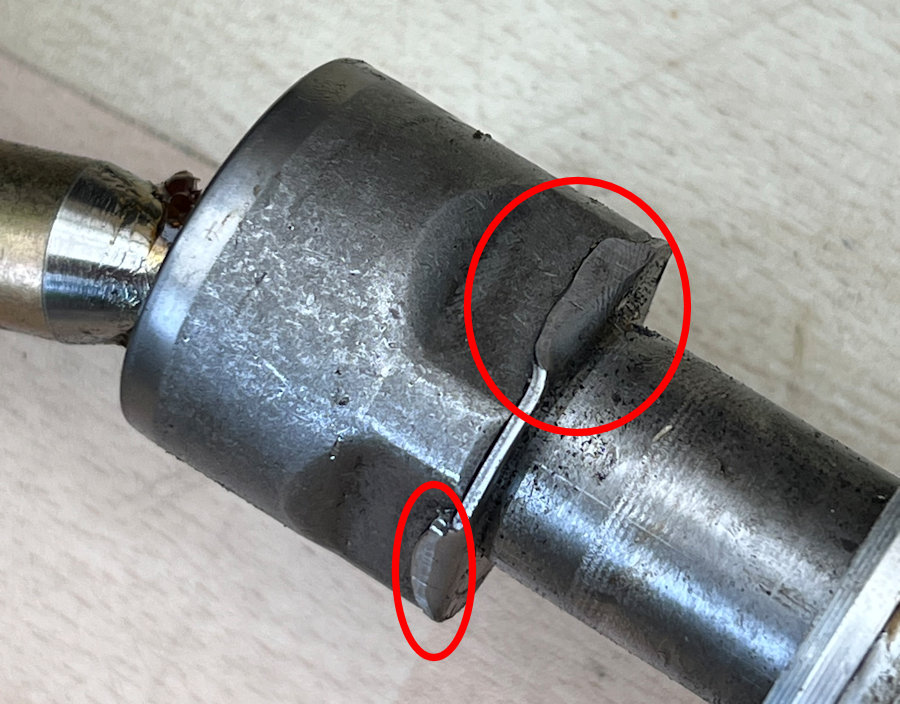
The Flyin Miata guide doesn't show the removal of the inner tie rod ends. These screw into place and use a locking plate that has been bent over, to stop them coming loose. These 'tabs' have to be gently bent back with a hammer and punch to enable them to be undone. You can't buy these locking plates, so you have to reuse them.

The 'tabs' only need to be bent back a little way, to enable the inner tie rod to rotate and be removed.

There are a total of six pipes and fittings that need to be removed and blocked off. Two larger ones and four smaller ones as shown here. These need to be filled in to block off the pipe connection points. There will be no fluid in the rack and these are used simply to keep the dirt out. Ours will also be painted over, once fixed in place.

With the smaller ones, we filled the pipe end using a flanged rivet. With the larger ones we used an M8 button-head bolt. These were then fully sealed using Araldite glue. These will all be painted too.

Removing this locking nut requires a 41mm socket or spanner, which we didn't have. We ordered one from Amazon for next day delivery.

With the lock nut undone, you can remove the shaft clamp cover, clamp spring and the shim. This mechansim basically keeps the pinion gear tight against the rack.

The plastic cover is a push fit onto the pinion shaft and is there to keep dirt off the circlip. It doesn't work brilliant in this respect. You will need proper circlip pliers to remove this circlip as it is a tight fit.

Once the circlip is off, turn the rack over and put it in a vice or something similar. Remove the threaded cover to expose this nut. The threaded cover seemed to be fitted with thread locker, so make sure you put it back using some too. The 17mm nut was covered in grease and it didn't look like a nut! You need to remove the grease to reveal it.

If you simply try to undo the nut, it will turn the shaft and move the rack. We had to put the steering column UJ back on and use it to hold the shaft still whilst we undid the nut.

With the nut removed, you can see a ball race inside and this stays in place. The pinion shaft should just pull through from the other side. We put it in a plastic bag to keep it clean as it is covered in grease.

The steering rack shaft is held in the housing by a circular spring clip at the opposite end of the pinion shaft. You use the hole at the end of the housing to pop it out.

We could the pull the rack out of the cover to reveal the seal that needs to be removed by cutting through it on opposite sides.

We put both ends of the rack in plastic bags and used tape to keep the dirt off it as much as possible, whilst we worked on removing the seal. Using a mini-tool with a rotary cutting blade, we sliced across the seal on one side and then on the opposite side. With a bit of levering, we got it to come off in several bits.
Putting the rack back together is the reverse process of taking it apart.

The rack will be refitted to the MX-5e using Superpro polyurethane power steering rack bushes to improve the stiffness of the rack mounting and to improve the feel through the steering wheel.
The steering rack clamps are also being cleaned up and powder coated.