

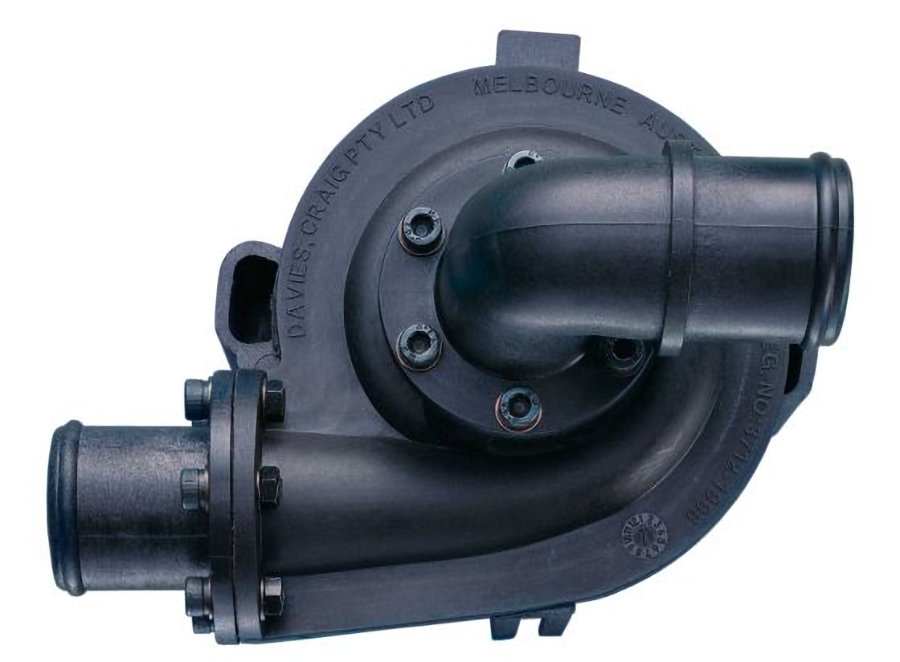
This project is part of our OSSEV cooling system design and is being developed as part of the MX-5e cooling project installation.
We are using the Tesla variable speed, electric water pump for the cooling systems in our MX-5e and the OSSEV®. It is readily available at a reasonable cost (new and second-hand) and combines good performance with useful features. It has a 19mm inlet and 19mm outlet which matches the Nissan Leaf motor/inverter we are using in our MX-5e and all the other elements of its cooling system.
The control of this pump is well documented on the EV Create website. The nominal voltage is 13V (accepts 8V to 16V) and the maximum current draw is around 4.5A. This is quite a lot, so reducing the pump speed and current draw when possible is a good thing. The pump speed varies from 750rpm to 4700 RPM. We tested a pump without speed control and the current draw was 4.3A.
The pump speed is controlled operated by pulling the PWM input to GND and the pump requires a 2Hz PWM signal which is quite an unusual frequency. If you do not provide a normal speed control input, after a short startup and diagnostics time (4 to 7 seconds) the pump will start running at full speed. The operating voltage is 5V with a suitable pull-up resistor.
We do not need fine speed control for these pumps. We decided to develop a simple controller that runs the pump at four different speeds, roughly 25%, 50%, 75% and 100%. When power is applied, we want the pump to default to its slowest speed (25%), so that coolant is circulated past the temperature sensors in our cooling system and the pump is using minimal power.
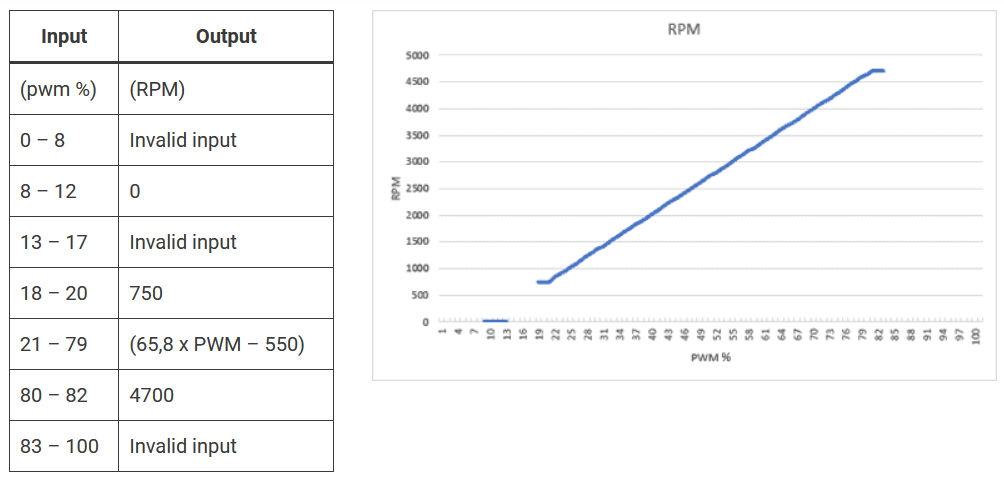
The speed control of the pump is well documented on the EV Create website and this diagram by EV Create summarises the valid input signals.
We want the pump to default to its lowest speed (PWM @ 20% giving 750rpm) with [00] on the speed control pins.

The speed controller will be manufactured as a custom PCB design. The controller requires 5V dc power and is not involved in the control of the 12V power to the Tesla pump.
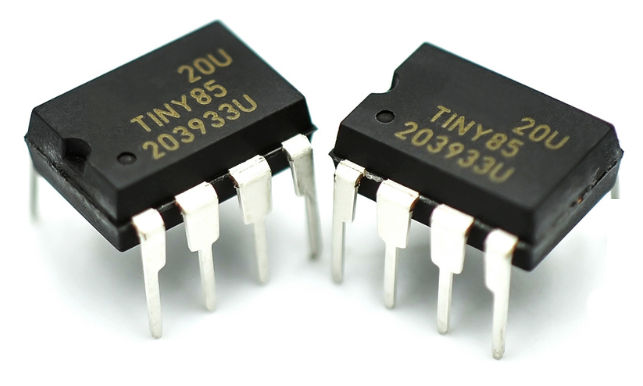
Arduino processors cannot multitask, so it is good practice to off-load things like PWM timing and rotational speed monitoring to a secondary processor. It could be done using interrupts on our main Driver Control Unit (DCU) processors but, it is just simpler this way. The ATtiny85 is just about the smallest Arduino processor you can buy an has exactly the right number of IO pins for this application. It has five usable IO pins and uses a 5V dc power supply and logic.

The pin labelling on the ATtiny85 can get a little confusing, so these are how we are using the pins:

We are using an Arduino UNO shield to program the ATtiny85 processor. This one was designed and built by a friend but, you can buy things like this on eBay.
We are not going to cover the programming process in depth here as it well described on sites like Instructables.
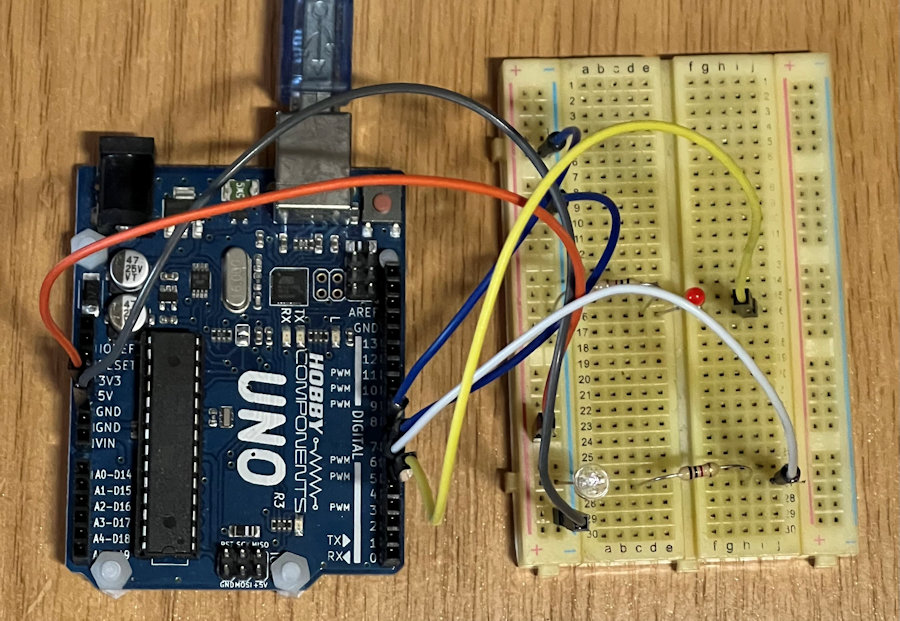
We initially developed and tested our code using an Arduino processor Uno because it has the ability to generate debugging information via the serial port monitoring. This approach also makes it much quicker to modify our code and test it. The 2Hz CTL signal is clearly visible when using an LED connected to the CTL pin (with a 1KΩ resistor in series) and it clearly shows the changes of the PWM with input changes on the SP1 and SP2 pins. We used a multimeter to check the frequency and it showed 1.998Hz which is perfect.
This approach also allows us to measure the Tesla Pump in-situ to capture real performance data and thus calibrate the error sensing.
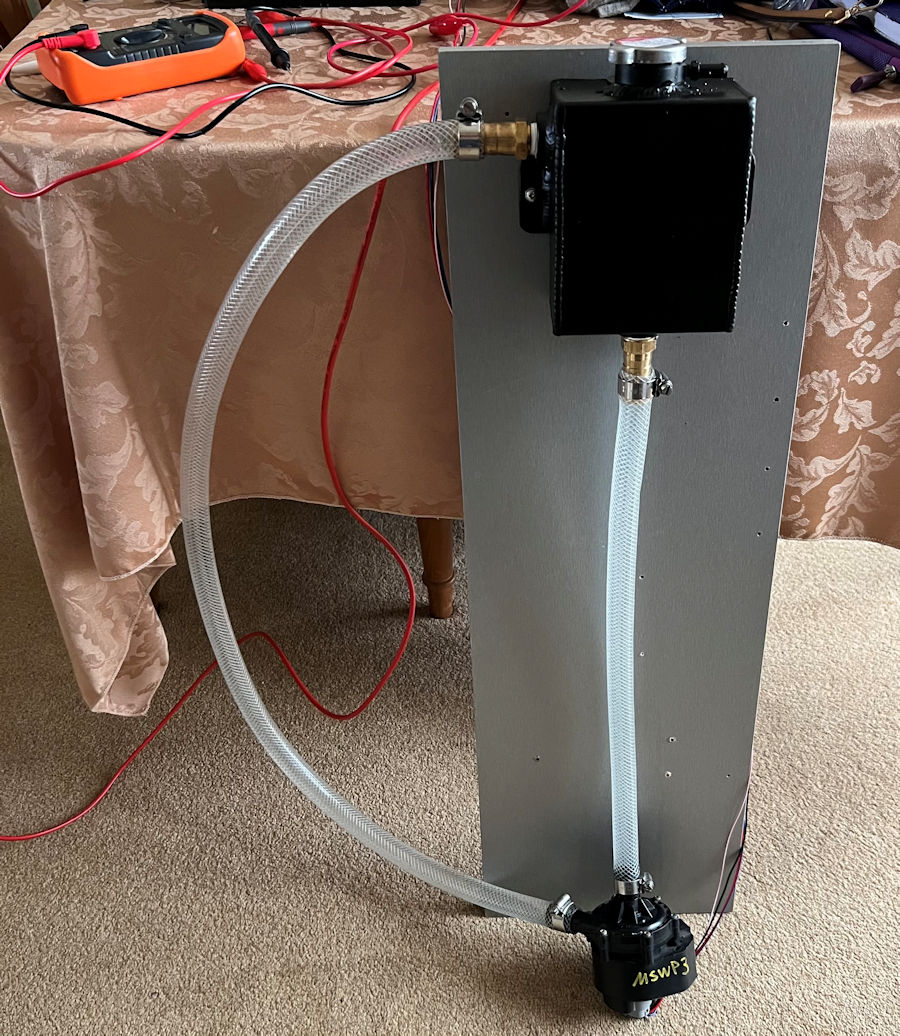
We used this simple setup to test the pump speed control, current draw and speed feedback mechanism. On applying power, the pump runs at 100% for less than one second, then adapts to the PWM signal coming from the speed controller.
From this testing, at 100% speed, the coolant is rushing through the header tank very quickly and our chosen tank might be a little bit too small, especially as we potentially have two pumps (inverter/motor & battery pack) drawing from the one outlet.
Based on our testing, we would improve our initial PCB V1.1 design:
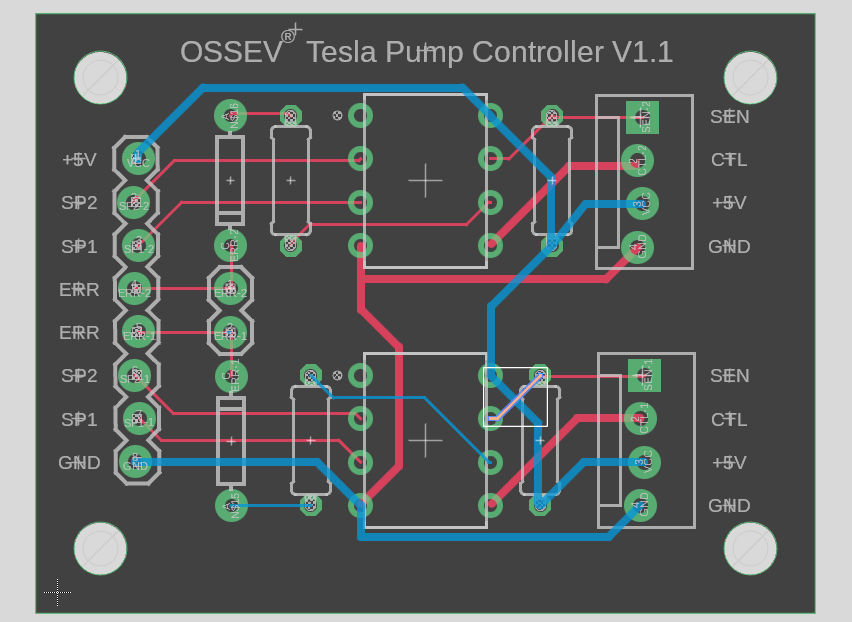
We have designed an initial prototype PCB (V1.1) that enables two pumps to be independently controlled. The ERR pins are connected via diodes, to optionally enable either/both pumps to illuminate a common red visual indicator.
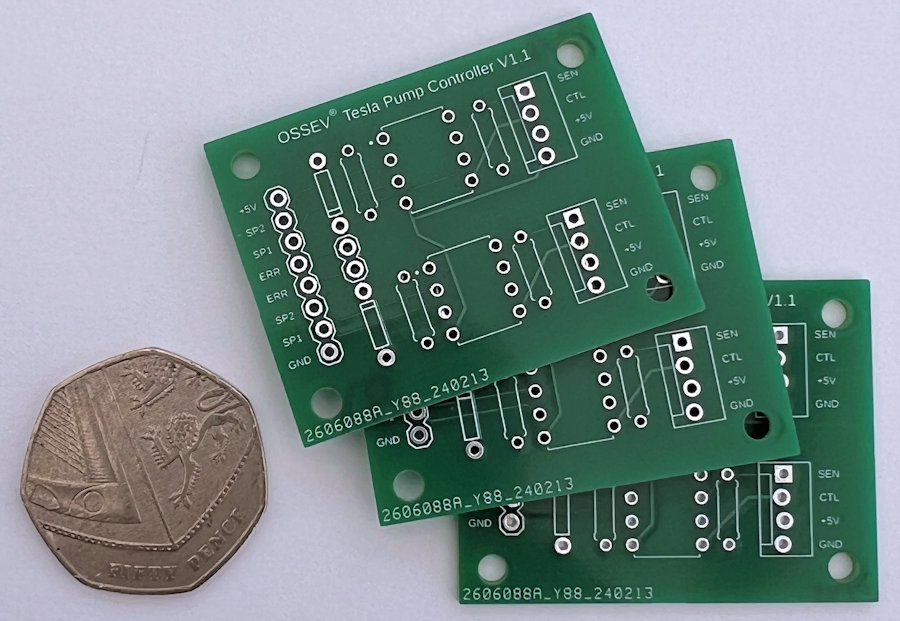
Our V1.1 prototype board allows us to check the ATtiny85 has been programmed correctly and behaves as expected.
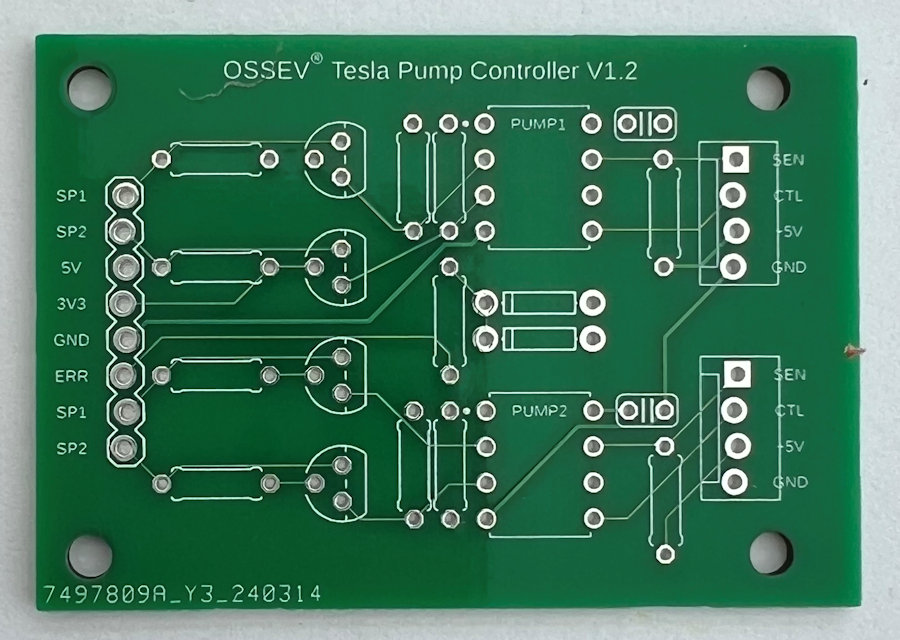
V1.2 of the PCB also uses THT to make it easier for others to reuse our shared design and code. It adds the following:
Our MX-5e is a typical application of this pump speed controller. When the ignition is switched on, 12V dc is provided to pump and a 5V dc-dc converter, the latter powering the pump speed controller. Both are powered via a suitable fuse. With no inputs connected, the pump will run at 25% which is 750rpm.
The Driver Control Unit (DCU) is interfaced to the pump speed controller via the three pins: SP1, SP2 and ERR. Based on observed temperatures in the MX-5e cooling system, the DCU will control the speed via the SP1 & SP2 pins: [00] = 20% PWM and 750rpm, [01] = 40% PWM and 2000rpm, [10] = 60% PWM and 3300rpm, [11] = 80% PWM giving the maximum speed of 4700rpm.
If the sensed speed of the Tesla pump (via SEN pin) is out of the expected range, then the ERR pin is pulled low by the control and the Driver Control Unit (DCU) will then flag the error to the driver.
The OSSEV® philosophy is to open-source our designs and once we are happy our development and testing is complete, we will share our PCB designs and all the software we have developed for our DCU.